How to install a virtual try-on on Shopify
Most guides in this category describe a five to seven step process that involves opening the theme editor, adding a block by hand, dragging it into place and uploading product data. This guide compares that path with Fittly's, which comes down to enabling the app and hitting save.
What does installing a virtual try-on usually take?
If you read the install guides for apps in this category, the typical process looks like this:
- Install the app from the Shopify App Store and accept the permissions.
- Go to your admin, then Online Store, Themes, and click Customize on the active theme.
- Open the product page template and click Add block.
- Pick the app's block from the Apps section.
- Drag the block to the position where you want it to appear.
- Adjust the button text and color to match your brand, then save.
- Upload product data: high quality images or 3D models, and upload your size charts.
- Test on desktop and mobile that everything works.
None of those steps is hard on its own. The problem is that there are eight, that two require design decisions, and that the last one, uploading product data, is manual work that grows with the size of your catalog. That is where an install gets postponed and never happens.
How do you install Fittly? One step
With Fittly the process is this, in full:
- Install from the App Store. Accept the permissions Shopify shows. The app asks to view products and images, to view and edit themes for the embed, and to view orders only to attribute purchases.
- Enable the app embed and save. In the theme editor, switch Fittly on and save. There are no blocks to add and no position to choose: the widget shows up on every apparel product by itself.
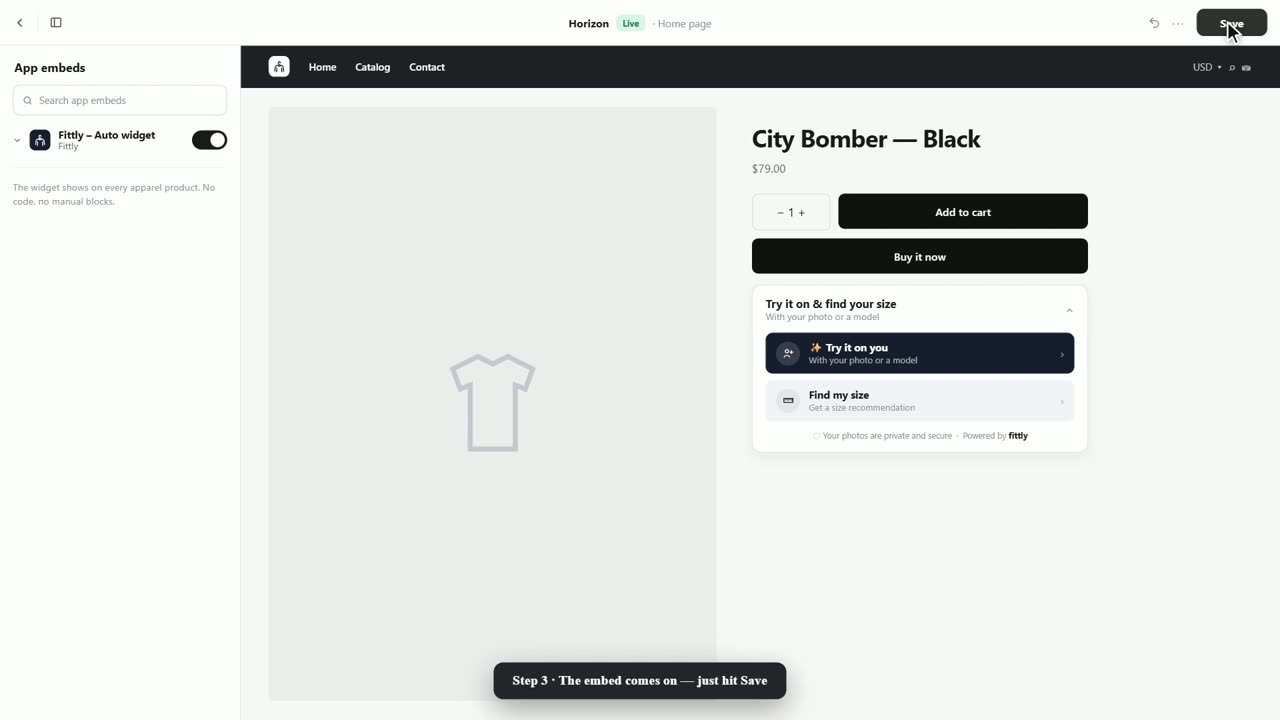
The video loads from YouTube only when you hit play.
What happens next, with no work from you?
With the app enabled, Fittly goes through your catalog on its own. It reviews each product's images and keeps the one that works for the try-on, and it looks for your size charts inside your own product photos to activate them. The result is that the size recommendation ends up running on each garment's real measurements, not on a generic store chart, and you never uploaded a single table.
What do you not have to do?
What if your store sells in several languages?
The widget is available in Spanish, English, Portuguese, German and French, included in every plan, and it automatically follows the language your Shopify store already shows each visitor. A shopper in Germany tries the garment on in German without you configuring anything.